Grind and cook your catch with a side of creamy grits and roasted tomatoes
Chef Robert Phalen, at Atlanta’s acclaimed One Eared Stag restaurant, makes this citrusy, herbal, head-turning “sausage” with catfish, but it’s a fresh and terrific vehicle for other freshwater gamefish like bass or walleye. Don’t let the sausage-making component scare you off; after a simple pass through the grinder, this dish couldn’t be easier.
2 lb. catfish, bass, or walleye fillets, roughly chopped
3 bay leaves
2 cups grits (not instant)
1⁄3 cup white wine
11⁄2 cups parsley, roughly chopped
Zest of 3 lemons
Zest of 1 lime
11⁄2 Tbsp. fennel seeds
1 tsp. whole coriander seeds
11⁄2 tsp. onion powder
11⁄2 tsp. garlic powder
1 tsp. crushed red pepper flakes
10 oz. cherry tomatoes
About 1⁄2 cup olive oil, divided
4 Tbsp. butter
4 scallions, chopped
Salt and black pepper, to taste
Directions
Place the components for your meat grinder in the freezer to chill.
Make the grits: Bring 8 cups of salted water to a boil in a medium saucepan. Add the bay leaves, then slowly whisk in the grits. Reduce the heat to low, cover, and simmer very gently for 30 minutes to an hour, until the grits are very tender.
Meanwhile, add the wine, parsley, lemon and lime zest, fennel and coriander seeds, onion and garlic powder, and red pepper flakes to a blender or food processor and purée until smooth. Combine this purée with the fish fillets, and salt and pepper generously.
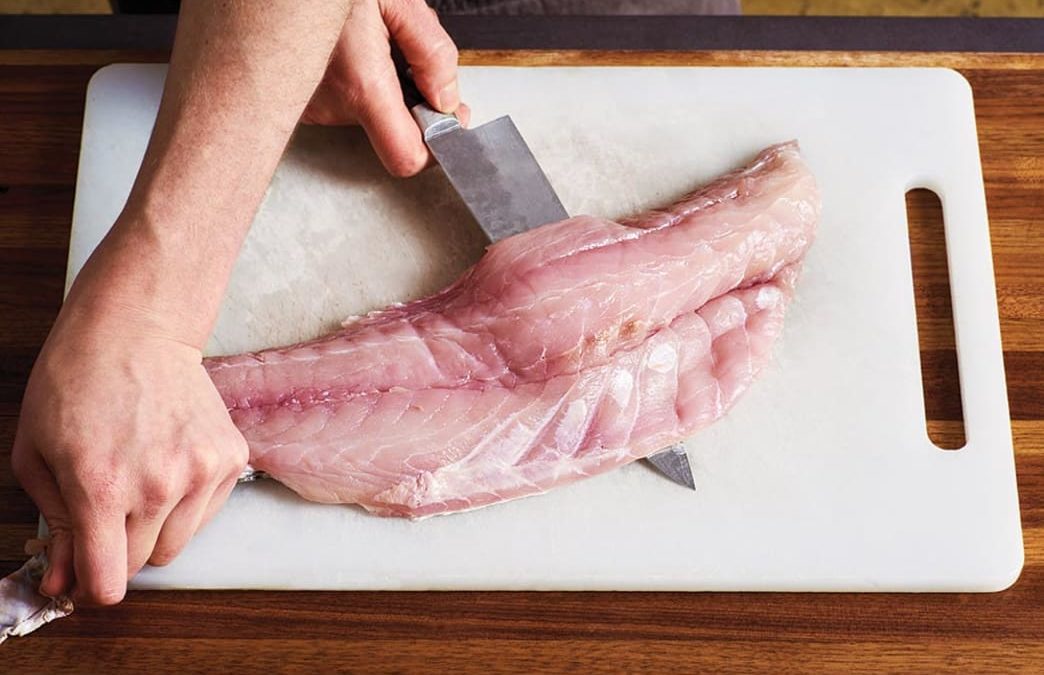
chopping catfish Roscoe Bestill (Food and Prop Styling)
Using the coarse setting on your grinder, grind the fish mixture into a clean, cold bowl. Keep refrigerated until ready to cook.
As the grits are cooking, place the tomatoes on a sheet pan and drizzle with about 2 Tbsp. olive oil. Season with salt and pepper. Place under a broiler for about 8 minutes, or until the tomatoes are soft and blackened in spots. Keep warm.
In a nonstick sauté pan, heat about 2 Tbsp. olive oil over medium-high heat. Make patties with the sausage (or sauté loosely, as you would ground beef) and cook, flipping once, for about 8 to 10 minutes, or until cooked through.
Add the butter to the grits and stir to combine. Salt and pepper to taste.
Ladle the grits into shallow bowls and top with the sausage and blistered tomatoes. Garnish with the chopped scallions and serve.
Written by Jonathan Miles for Field & Stream and legally licensed through the Matcha publisher network. Please direct all licensing questions to legal@getmatcha.com.
Looking for the perfect trout stick? An understanding of how rod performance determines price will help you pick the best rod no matter how much you want to spend
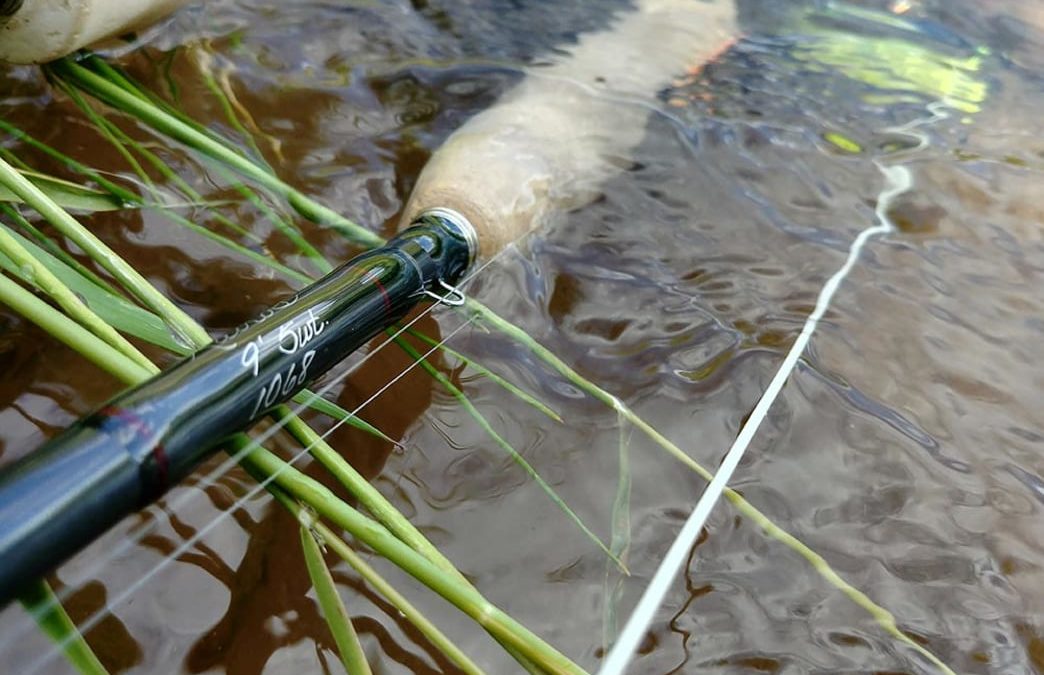
Walk into any fly shop from the Rockies to the Catskills and you’ll see a wall or two full of trout rods. Most shops carry a half-dozen brands at least, and the prices range from the bare-bones value of rods like the ECHO Base, all the way to the pricey G. Loomis Asquith. I’ve spent my entire life chasing trout in the American West, and I’d like to think I know a thing or two about “good” trout rods. I’ve also had the opportunity to fish many different rod brands across a wide spectrum of price ranges. Of course, “good” and “bad” are subjective terms, but using them to describe rods boils down to whether or not a fly rod puts your fly where, how, and when you wanted it. It’s the performance aspect of fly rods that creates the price disparity. But does that price difference automatically mean an expensive rod will put your fly on the water, exactly how you want, as accurately as possible, every time? Not entirely. A competent angler can work with an incompetent rod. If you’re in the market for a new trout rod, here’s what to consider when figuring out which one is right for you, based on everything from budget to your preferred style of fishing. First and foremost, you have to understand that what creates the price differences among trout rods comes down to these three features:
Blank Quality
A high price tag almost always correlates to a fly rod blank that’s lighter and stronger than cheaper rods. Winston’s new AIR rod family is a great example to use here. The AIR utilizes Winston’s blend of boron graphite and a new resin (the glue that holds graphite together), which supposedly dries lighter, meaning you’re fishing a lighter rod. The AIR retails for $950 – a hefty price tag. But when compared to the company’s new Kairos—which goes for $475—you can immediately notice the difference in rod weight and overall feel. Blank quality is the biggest factor in pricing a rod.
Blank Performance
This is a tricky aspect to quantify because performance is such a subjective term, and it’s devilishly hard to accurately measure. What is measureable, though, is how a blank tracks and deflects. A rod with high torsional stability (meaning the tip stays in a relatively straight line as it moves on your front and back cast) that doesn’t oscillate will, in the right hands, be more accurate than a rod that’s not built with those major features in mind.
Build Quality
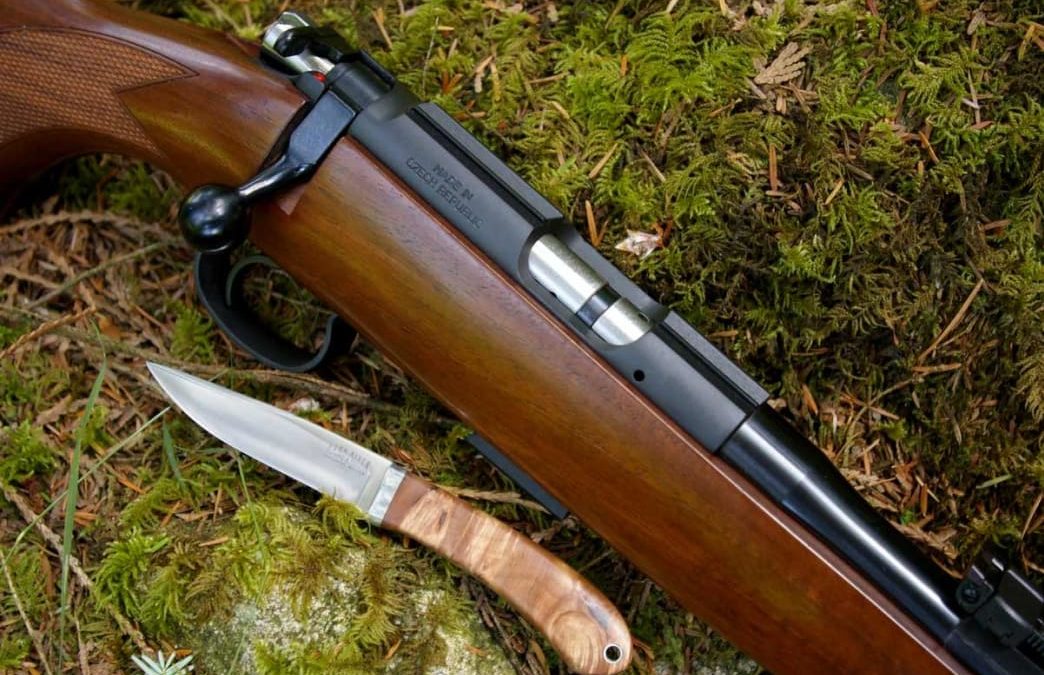
Just like the majority of flies are tied to catch fishermen more so than fish, rods are built to draw attention while on the shop rack. From the bright green of the Sage MOD to the trademark unsanded finish on Scott rods, every company has some signature build quality meant to make a rod fit for the classiest of tweed-clad trout anglers. Joking aside, the quality of a rod’s cork, guides, thread wraps, and hardware quickly add up to a bigger price tag. They don’t drastically impact how a rod performs, but I’d be a liar if I said I didn’t appreciate well-built rods. It’s a lot like hunting rifles, honestly. A composite stock doesn’t make a gun better than one with a real wood stock, but something about solid mahogany or walnut just feels better.
Budget and use are two key factors you must consider before walking into the fly shop. Ryan Kelly
Now that you have a better understanding of what sets the price of a fly rod, consider these factors before walking into the fly shop:
Budget
How much are you willing to spend on a rod? Go in with a firm idea because that will hugely narrow down your search for the perfect rod.
Use
What do you plan to use this rod for? Is it your .30-06, ready to tackle just about every situation you come across? Five-weight rods are the go-to for most trout anglers, myself included, and are largely considered the best all-around weight. Four-weight rods are lighter and a top choice for devout dry fly anglers, and a heavier, faster 6-weight is the standard stick for guys that like to strip larger streamers all day or dredge nymphs on weighted rigs. When you clearly define the use of the rod you’re going to buy, your options will narrow even further. However you fish, make sure the rod you buy matches your style. You’ll appreciate your investment that much more if you buy something suited exactly to your standard trout fishing needs.
Once you’ve answered the above questions, and taken into account what aspects of a rod are most impactful in rod performance, you’re ready to start shopping. The following list is a great starting point for finding the rod you want at the right price. I’ve personally fished each and every one of these sticks, and while there are many, many others on the market, my field test findings may help guide your decision. Whichever rod you end up with, make sure to keep it clear of car doors, clean the dirt from the ferrules, and catch some trout with it. No matter how pretty or expensive a rod is, as late master rodsmith Tom Morgan himself told me, “Rods are meant to be fished.”
Written by Spencer Durrant for Field & Stream and legally licensed through the Matcha publisher network. Please direct all licensing questions to legal@getmatcha.com.
Neck-sized cases, oily chambers, dirt, ice, and powder fouling can all get you in a jam
I mentioned stuck cartridge cases in a previous post, and since they can screw up a rifle but good, it’s worth going into in more detail.
I think most of the people who get into trouble with this are handloaders. These are the believers in neck-sizing, as opposed to full-length sizing. Their rationale is, that sizing the neck only results in greater accuracy and longer case life. In theory, maybe. However, after firing an infinite number of tiny groups with full-length-sized cases, I don’t think there’s much difference, if any. As for case life, if you use good brass, and set up your dies properly, and your chamber is not oversized, you’re going to see hardly any difference, or no difference.
Neck-sized cases will often stick, and full-length-sized cases hardly ever do. What happens, I believe, is that when brass is neck-sized repeatedly, the shells swell a little bit with each trip through the die, and even though they feed fine for a while, one day they don’t, and there you are with a jammed rifle.
Then there are rifle chamber and neck variations. In theory, all rifles are supposed to be chambered within strict dimensions laid down by SAAMI. While you’re meditating on this, consider also that Boeing is supposed to build 737s that don’t crash shortly after takeoff. In other words, you may have an off-spec rifle.
I’ve found that custom rifles are more prone to off-spec than factory rifles. I have shot:
A) an exquisite 7×57 carbine that would chamber only 140-grain spitzer bullets, and nothing else
B) a .375 H&H with a chamber that looked like the reamer chattered. It had the same surface as a Maine road in springtime
C) a very expensive .30/06 whose chamber was not only oversize but slightly elliptical.
Only by a miracle will such rifles feed.
Dirty ammo, or oily/greasy ammo will jam nicely. In cold weather, ammo with water on it, or melted ice or snow, can lock up solid if you give it a little while to re-freeze. Lots of powder fouling will do the job to a fare-thee-well, as many of our soldiers found out when the first M-16s were issued without cleaning kits.
Never oil a chamber. Instead of being able to grip the chamber walls upon firing, a case will jam backwards against the bolt face with who knows what results.
Beware of “precision,” minimum-dimension chambers, particularly in hunting rifles. You don’t know what you’re going to have to shoot in them, and under what conditions. You may find that when the airlines have lost your minutely-sized fire-formed brass, and you have to buy something at the local bait shop, that it won’t chamber. I’ve always taken care when ordering a gun to specify a straight SAAMI-spec chamber.
It’s a righteous idea to cycle all your ammo through your magazine before you go hunting. But don’t do it in your basement; do it at the range. Accidents happen, and if one does, you want the bullet to go into a sandbank 100 yards yonder, not into the ceiling overhead, which is probably the floor to the kitchen.
Most important, if you run the bolt forward and you feel something is not right, stop. Cartridges should go into the chamber with no resistance at all, and if that’s not the case (as it were) you’ve got a problem. Keep on shoving the bolt and hoping for the best and you’re going to make matters much worse.
The careful shooter can go for decades without a jammed case. The other kind of shooter should practice his profanity. He’s going to need it.
Written by David E. Petzal for Field & Stream and legally licensed through the Matcha publisher network. Please direct all licensing questions to legal@getmatcha.com.
Spun-hair files are secret weapons for bass, pike, and trout. Here are the best fly patterns, fly-tying tips, and big-fish tactics
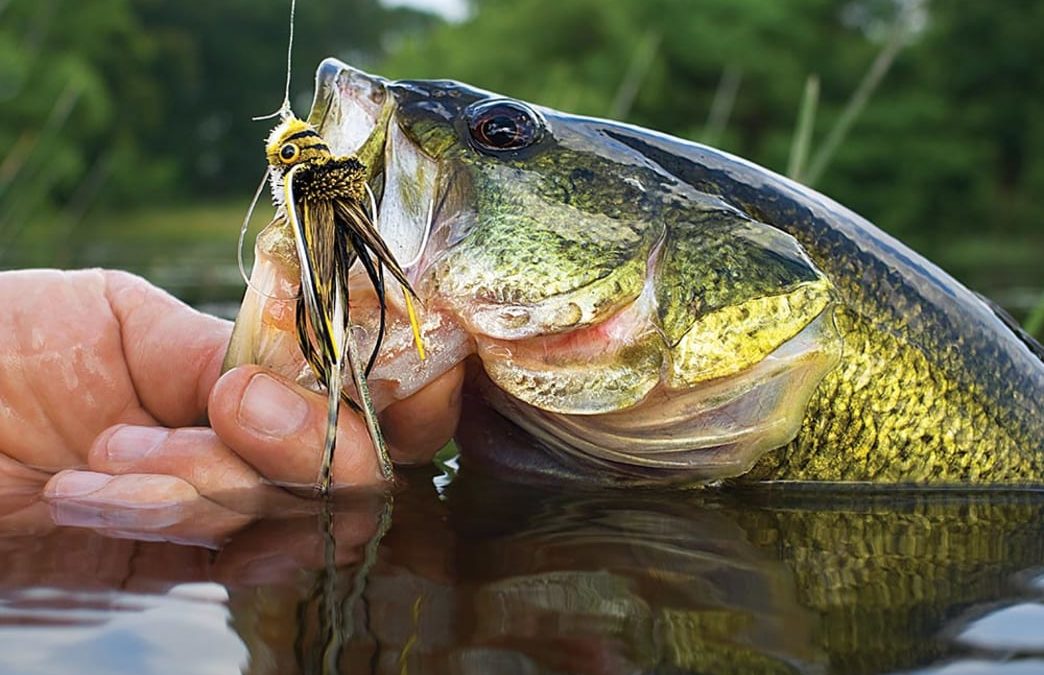
Everything about modern flyfishing is fast. We’ve got fast rods, fast-shooting heads, fast-drying UV resin, and even premade wings, legs, and tails that let you whip up flies faster than ever. This might be why spun-hair bass bugs aren’t commonplace in fly boxes today. Everything about them is slow. They need to be fished with patience, you can’t knock them out at the vise, and their air-resistant bodies made Granddad’s slow, noodly fiberglass rod the perfect hair-bug delivery tool. Thing is, spun-hair bugs haven’t lost an ounce of potency since Granddad’s day. And while it’s true that a well-made hair bug isn’t cheap, if you know what to do with one, it’ll repay you with more giant fish.
Hair Tonic
1. Soak It In
Not only is Pat Cohen the man when it comes to tying hair bugs (see “Spin Class,” below), he’s also a leading expert on fishing them. It’s important to remember that a hair bug behaves differently than a similar fly with a foam, cork, or balsa body, which is why Cohen says you don’t want to just tie one on and slap it down. A little bit of hair-bug prep goes a long way.
“I prefer to fish hair bugs that are waterlogged,” says Cohen. “I’ll actually soak them for up to an hour before fishing to make sure all of that hair absorbs as much water as possible. Just before I start casting, I’ll squeeze the bug out. What you end up with is a fly that will naturally ride lower in the surface film.”
According to Cohen, a hair bug that’s riding low produces a deeper gurgle and pop that simply can’t be matched by topwater flies with solid bodies. This sound can be a dinner bell for huge bass if you present the fly correctly. Cohen says it’s important not to overwork a topwater hair bug. He always lets the splat-down rings dissipate before moving his fly. “I give it a couple of pops and let it sit for three to five seconds,” he says. “If there’s a bass in the area, it knows your fly is there. Bass are naturally curious and will come scope it out.
You just have to vary your retrieve cadence and speed to figure out how to make it eat.”
2. Sinkers and Floaters
Hair bugs are surface flies, so you’d naturally want to cast them on a floating fly line. Most of the time, anyway. If you’re looking for a leg up on trophy pike, bass, or even trout, Cohen recommends ditching the floater, particularly when you’re using a hair diver. Pair these buoyant bugs with a heavy-grain sink tip, and the results can be positively stunning.
“That sinking fly line wants to go down, and a floating fly wants to come up. So you get this up-and-down jigging action, along with this really crazy, erratic side-to-side motion,” Cohen says. “It’s almost similar to a crankbait’s wobble. You can fish it just like a streamer, and it’s absolutely deadly.”
To dial in exactly the action you want, Cohen says, all you have to do is play with leader length. The longer the leader, the more time it will take the sink tip to pull the fly down and the more subtle the action. If you use a short 2- or 3-foot leader, the fly will drop faster and you’ll get increased action on the strip. By varying sink-tip weight and length, you can also fine-tune exactly where in the water column you want that diver to work or suspend.
3. Pop and Drop
Deer-hair poppers might have the uncanny ability to draw in bass, but that doesn’t always mean those bass are going to commit. This is one of the reasons why Cohen often hangs a dropper under his flies. He says the method makes the play more often than not when bass are being finicky.
“What I do is take a 24-inch piece of leader material and tie it to the bend of my popper hook,” Cohen says. “Then you tie a small sinking fly to that leader. A little Clouser Minnow is one of my favorites. As you work that popper, that Clouser is bouncing around below it, and it looks just like an injured baitfish. So you’ve got the unique sound of the popper to call the fish in, but also a smaller target if a bass won’t hit the bigger meal.”
If you tie up Cohen’s “popper-dropper” rig, just don’t forget to alter your casting a bit; fail to open up your loop, and that little Clouser can create some gnarly tangles or end up in the back of your skull.
Classic Hairdos
The Popper
Popper deer hair fly lure Super Fly
Back in the day, spinning hair to create a popper was practical; in today’s world of myriad prefab foam-popper heads, it may seem outdated. The reality is that in many cases, a hair popper gives you an edge. The difference lies in the sound it makes in the water, which is a much deeper, more “gurgly” one than your average foam popper. Add in hair’s ability to move more water, and you’ve got a hog caller.
The Frog
Plastic frog deer hair fly lure Super Fly
Much like a hollow-body plastic frog, there aren’t many places a spun-hair frog with a weedguard can’t go. You can find hair frogs with popping bodies and diving bodies, but those with more streamlined slider-style bodies are some of the most versatile. They’ll glide over the tops of lilies and grass mats while producing a strong V wake to call in the biggest bass and pike hiding in the salad bar.
The Diver
The diver deer hair fly lure Super Fly
Designed by renowned angler Larry Dahlberg, the diver’s magic lies in the head design, which tapers from slanted at the front to a wide, flared collar at the back. Give it a hard strip and it will dive a few inches under the surface, and as water moves over the flared collar, the fly will wobble and shimmy seductively. Strip slowly and a diver will get smoked as it wakes and gurgles across the surface.
The Mouse
The mouse deer hair fly lure Super Fly
Even a small bass can easily suck down a hefty hair mouse. If late-night brown trout hunting is your game, however, you only tie one of these bushy fur balls on when you’re after “the one.” It takes a big mouth and strong commitment for a trout to eat a hair mouse, but when it happens, make sure you feel your line tighten before you set. Otherwise, you’re just going to yank the midnight snack away from the fish.
Spin Class
Pat Cohen of Super Fly is the modern-day hair master. So exceptional is his work that many of his fans consider his flies more art than tackle. It’s no secret that making quality hair bugs is meticulous work that takes plenty of practice to perfect, but if you’re thinking about giving it a shot, Cohen says understanding these three hair-spinning rules is critical before you get started.
Belly Up
“I think a lot of people mistake bass bugs as being made of bucktail,” Cohen says. “Bucktail doesn’t flare properly. I also see a lot of folks trying to use deer body hair, but it’s soft and absorbs a lot of water. The flies don’t always float correctly and often flip over on their backs. To make a good bass bug, you always want to use quality deer belly hair. It’s stiff, flares correctly, and has the most buoyancy.”
Thread Counts
“One of the biggest issues tiers have is thread control,” says Cohen. “When it’s time to cinch a stack of hair in place, people are afraid to put too much tension on the thread because they don’t want to break it. But you have to break thread now and again to learn how much tension you can put on it. If you don’t use enough tension, your fly will weaken and fall apart after a while. I use gel-spun threads for all my bugs because they can handle a lot of tension.”
Shape Shift
“Carving bass bugs takes a lot of patience,” Cohen says. “When you’re ready for shaping, the trick is not thinking of the final shape. You want to envision a body in its most basic form. As an example, if you break down a popper to its basic fundamental shape, it’s a rectangle on a hook. Trimming the hair into an even rectangle is easier for people to do. Once you have that shape completed, then you can go back and round it into the popper you want.”
Written by Joe Cermele for Field & Stream and legally licensed through the Matcha publisher network. Please direct all licensing questions to legal@getmatcha.com.
Duunnn, Dunnn… Here are the tackle and tactics you need to go hunting for jaws
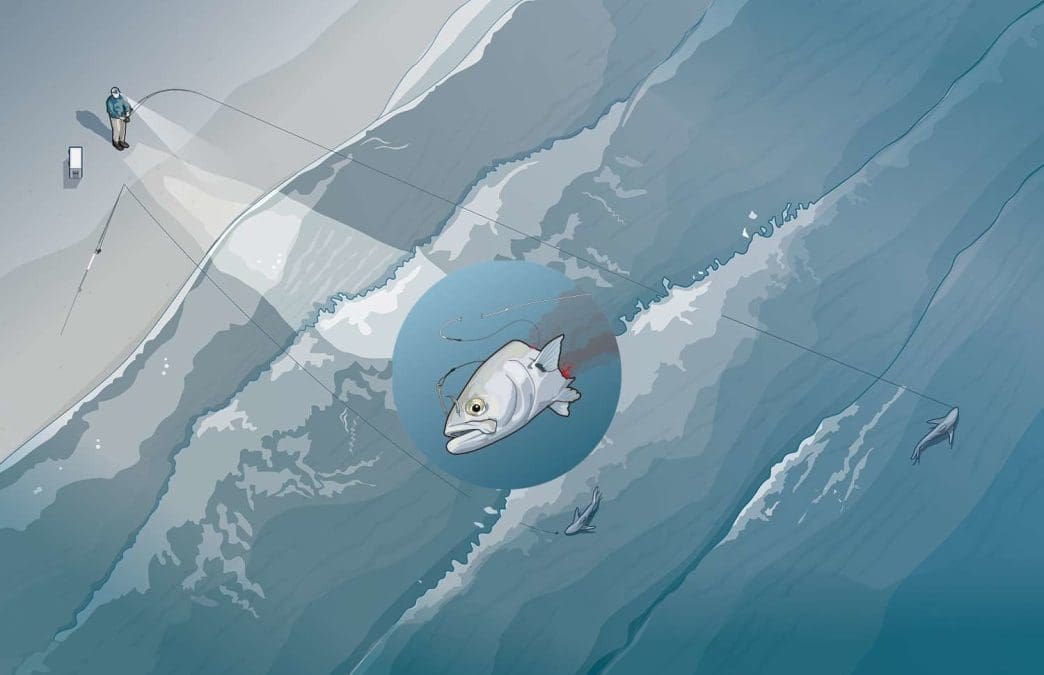
When nearshore water temperatures reach their summertime peaks, species such as striped bass, big bluefish, and red drum leave the surf until the fall. What many surf anglers don’t realize, however, is that the same sweltering temperatures that drive out the stripers and reds draw in brown sharks, blacktips, and spinners. From July 4th to Labor Day, these sharks swim within casting range of beaches from Massachusetts to North Carolina. If you’re willing to put in the time, these toothy surf prowlers can provide some of the most memorable battles of your life. Here’s how to play.
1. Beach-Bum Tackle
The surf sharks of the mid-Atlantic and Northeast average 3 to 6 feet long and top out at around 100 pounds, making them the perfect size for the same tackle used to throw bait at stripers or reds. A 10- to 12-foot rod rated to throw up to 8 ounces will tame most of the sharks you’ll encounter—but there is a chance that you’ll hook something big enough to spool your reel. Reels with a bait-feeder feature allow the sharks to swim off with the bait without feeling any resistance and also provide insurance against having your sand spike uprooted and your entire combo dragged into the surf.
2. Down to the Wire
To prevent bite-offs, use a leader of single-strand wire, such as Malin Hard-Wire No. 8 or 9. But make sure the leader is no more than 10 inches long, otherwise the weight and bait will helicopter on the cast, which will kill your distance. To prevent line abrasion against the shark’s sandpaper-rough skin, use an 8- to 10-foot length of 80- to 100-pound-test monofilament shock leader between the wire and your main line. If that main line is braid, an FG knot is a great choice for creating a low-profile connection that will slip through the rod guides easily.
3. Baiting Game
Frozen bait produces weaker scent and falls off the hook faster than fresh bait, so before a shark outing, hit the beach with your light-tackle outfit to catch croakers, spot, and small bluefish. Sharks hunt these fish, and a fresh-cut chunk from any one of them won’t go untouched for long.
4. Circle of Life
Several of the shark species commonly encountered in the summer surf are protected. Check state and federal regs first. If you hook into a protected species, it must be quickly released unharmed. To improve a shark’s chance of survival, use circle hooks. When you’re landing a shark, pull it just beyond the reach of the breakers. Leaving the shark in the wash will make the release easier on you and the fish, and a properly seated circle hook should be easy to remove with long-nose pliers. In the event of a deeper hooking, use wire cutters. Snip the leader close to the hook and send the shark on its way.
5. Close Encounters
The best time to catch a surf-cruising shark is from late afternoon through the first few hours of darkness. The fading light brings the fish in shallow to feed, and the late-afternoon hours tend to see a spike in the numbers of kingfish, croakers, and snapper bluefish in the waves. It’s important to remember that sharks can come in close—very close—to the beach, so you don’t need to bomb a cast 10 miles to reach the zone. Instead, target areas with deeper troughs running close to the surf line, and don’t be afraid to throw short, just past the first break.
Written by Jimmy Fee for Field & Stream and legally licensed through the Matcha publisher network. Please direct all licensing questions to legal@getmatcha.com.