Stuck Cartridge Cases and How to Avoid Them

Stuck Cartridge Cases and How to Avoid Them

Neck-sized cases, oily chambers, dirt, ice, and powder fouling can all get you in a jam

I mentioned stuck cartridge cases in a previous post, and since they can screw up a rifle but good, it’s worth going into in more detail.

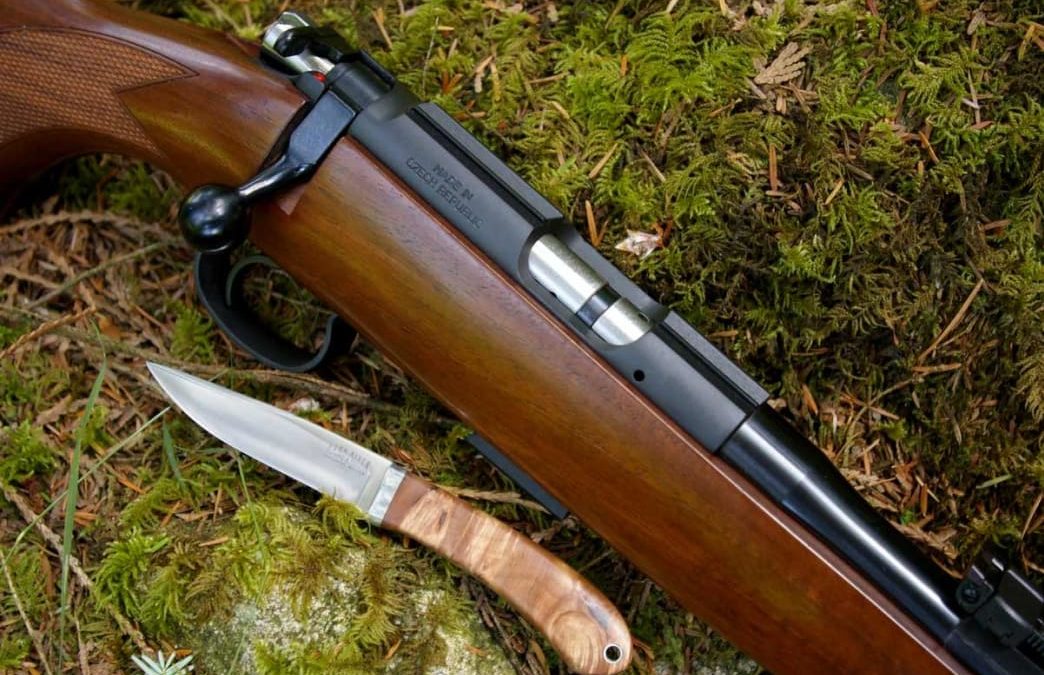
I think most of the people who get into trouble with this are handloaders. These are the believers in neck-sizing, as opposed to full-length sizing. Their rationale is, that sizing the neck only results in greater accuracy and longer case life. In theory, maybe. However, after firing an infinite number of tiny groups with full-length-sized cases, I don’t think there’s much difference, if any. As for case life, if you use good brass, and set up your dies properly, and your chamber is not oversized, you’re going to see hardly any difference, or no difference.

Neck-sized cases will often stick, and full-length-sized cases hardly ever do. What happens, I believe, is that when brass is neck-sized repeatedly, the shells swell a little bit with each trip through the die, and even though they feed fine for a while, one day they don’t, and there you are with a jammed rifle.

Then there are rifle chamber and neck variations. In theory, all rifles are supposed to be chambered within strict dimensions laid down by SAAMI. While you’re meditating on this, consider also that Boeing is supposed to build 737s that don’t crash shortly after takeoff. In other words, you may have an off-spec rifle.

I’ve found that custom rifles are more prone to off-spec than factory rifles. I have shot:

A) an exquisite 7×57 carbine that would chamber only 140-grain spitzer bullets, and nothing else

B) a .375 H&H with a chamber that looked like the reamer chattered. It had the same surface as a Maine road in springtime

C) a very expensive .30/06 whose chamber was not only oversize but slightly elliptical.

Only by a miracle will such rifles feed.

Dirty ammo, or oily/greasy ammo will jam nicely. In cold weather, ammo with water on it, or melted ice or snow, can lock up solid if you give it a little while to re-freeze. Lots of powder fouling will do the job to a fare-thee-well, as many of our soldiers found out when the first M-16s were issued without cleaning kits.

Never oil a chamber. Instead of being able to grip the chamber walls upon firing, a case will jam backwards against the bolt face with who knows what results.

Beware of “precision,” minimum-dimension chambers, particularly in hunting rifles. You don’t know what you’re going to have to shoot in them, and under what conditions. You may find that when the airlines have lost your minutely-sized fire-formed brass, and you have to buy something at the local bait shop, that it won’t chamber. I’ve always taken care when ordering a gun to specify a straight SAAMI-spec chamber.

It’s a righteous idea to cycle all your ammo through your magazine before you go hunting. But don’t do it in your basement; do it at the range. Accidents happen, and if one does, you want the bullet to go into a sandbank 100 yards yonder, not into the ceiling overhead, which is probably the floor to the kitchen.

Most important, if you run the bolt forward and you feel something is not right, stop. Cartridges should go into the chamber with no resistance at all, and if that’s not the case (as it were) you’ve got a problem. Keep on shoving the bolt and hoping for the best and you’re going to make matters much worse.

The careful shooter can go for decades without a jammed case. The other kind of shooter should practice his profanity. He’s going to need it.

Written by David E. Petzal for Field & Stream and legally licensed through the Matcha publisher network. Please direct all licensing questions to legal@getmatcha.com.

Featured image provided by Field & Stream

Customize Your Shotgun’s Fit for Mere Pennies

Customize Your Shotgun’s Fit for Mere Pennies

How plastic shims can fine-tune your gun—and make you a better shot

The 98 cents’ worth of plastic shims that came with your new $1,800 semiauto might be the most important part of the whole shotgun. Stock shims let you fine-tune cast and drop to get a perfect fit—and make your new gun almost a part of you. This is a big deal. Before shims, altering a wood stock involved a gunsmith and real money, and changing the dimensions on synthetic stocks was pretty much impossible.

Now, many shotguns come with shims, including such affordable standards as the SuperNova pump and the Mossberg 930. No longer is the off-the-rack shotgun a one-size-fits-all proposition. That little bag of plastic shims can make you a much better shot, if you know how to use what’s inside.

Mount Up

The first thing to do with your shim kit is…nothing. Put it someplace where you will not lose it, and start with an honest appraisal of your gun mount. If you practice it on a regular basis and are already dialed in, you can skip this step. Otherwise—and here I am talking to the vast majority of you—listen up.

Your head is the rear sight of the shotgun, but think of it as a scope for a moment: There’s no point in sighting in a gun if the mounts and rings are loose and the scope wiggles. Likewise, if your head doesn’t meet the stock consistently, your point of impact will wander and gun fit becomes a moving target. You need to crank down the screws. With a real scope, you use a Torx wrench. With a shotgun, you practice your gun mount until the “sight” (your head) comes to the same place on the stock every time.

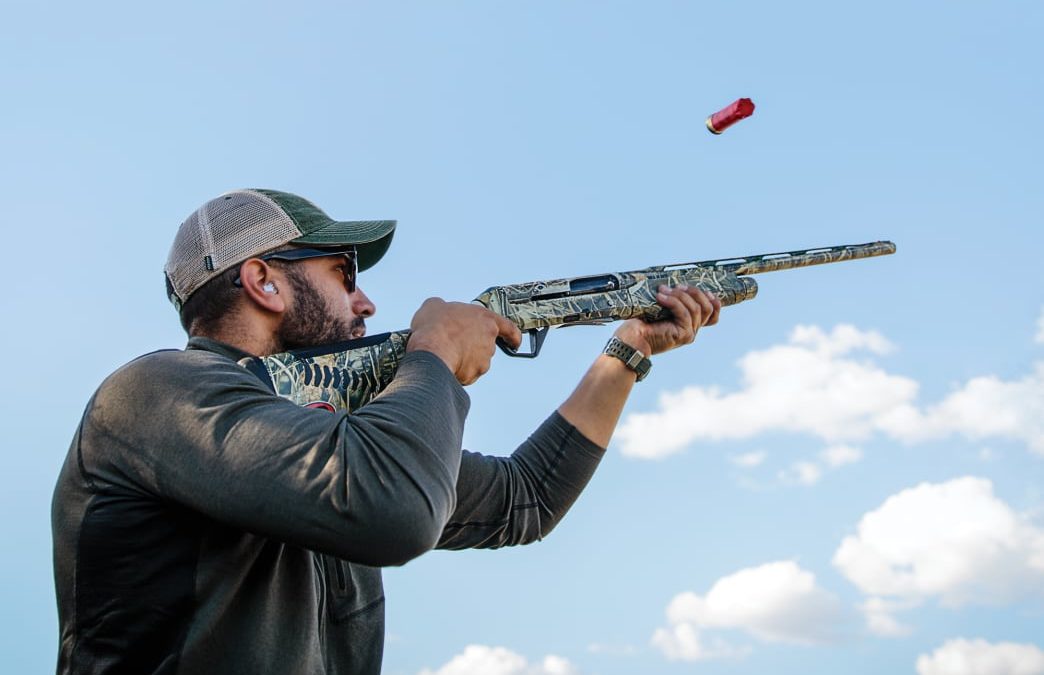
I’ve written ad nauseam about how to mount a shotgun correctly, but it really matters, so let’s review: Practice at home by first checking and then double-checking that your gun is unloaded. Pick a spot on an opposite wall, fix your eyes on it, and bring the gun up so that the muzzle points to the spot without your looking at the bead. Do this by pushing the muzzle toward the target while raising the stock smoothly to your face first, not your shoulder. Don’t crush your head into the stock, because you won’t do that in the field. If you practice this drill with a Mini Maglite AA in the muzzle, the beam will tell you if the gun is pointing where it’s supposed to. You can also check your work in a mirror. When you mount the gun on your reflection, you should see your eye centered over the rib. Do that for 10 to 15 minutes a night for a couple of weeks.

7iBilWItaTqvKQucnfDsV9
Drop shim shotgun illustration Robert L. Prince
7M34u212H9nSzG7u5UbWeB
Cast shim shotgun illustration Robert L. Prince

Dial In

Once you are mounting your gun consistently, take it to the range and shoot “groups” with a tight choke while standing 16 yards from the target. Use paper, a steel pattern plate (no steel ammo with steel plates, though) if you have access to one, or a hanging bedsheet with a mark painted on it. Mount the gun, neither rushing nor aiming, and shoot at the mark. Don’t correct if you’re off target. You’re trying to shoot a good group, not hit the bull’s-eye.

If you hit the same place every time, you’re ready to consider shims. (If you don’t, keep on practicing your gun mount.) Look at the center of your group. If it’s on or less than 2 inches off the mark, you’re probably good (depending on where you want your point of aim to be; see below). Otherwise, for every 2 inches off, you need a 1⁄8-inch adjustment to the stock in the appropriate direction.

The shims go where the buttstock meets the receiver, so you’ll need a Phillips screwdriver to remove the pad, and a long flat-head screwdriver or extended socket wrench to take off the stock. (Some kits also include a plate that goes over the stock bolt after you put the stock back on.)

If you want the gun to shoot higher, use a shim that gives you less drop; in the case of Italian shims, it’s a lower number of millimeters. With U.S. shims, it’s usually something like +1/8. (Check the manual.) To lower your point of impact, which is the most common adjustment, use one with a greater number of millimeters or –1/8. Move the pattern right with cast off, left with cast on. Italian shims are marked D for destra (“right” for cast off) and S for sinistra (“left” for cast on, or “evil,” which is completely unfair to us left-handers). Repeat the pattern process and change out shims as necessary until you’re satisfied. When that’s done, I like to go to station 7 on the skeet field and shoot low-house outgoers with a low-gun start to be sure the gun hits where I’m looking.

Where you set your point of impact is up to you. Most hunters and many sporting-clays shooters prefer a gun that centers the pattern on the point of aim, giving a 50/50 pattern that prints half above and half below the aiming mark, and a sight picture that’s flat along the rib. Some upland hunters and target shooters prefer to “float” the bird over the barrel, and therefore like a gun that shoots a little high—about 55/45—and lets them see a little bit of rib. Trapshooters like guns that shoot 60/40 or even higher. However you prefer to shim your stock, you’ll have made it a perfect fit for you, and that’s time and 98 cents very well spent.

GEAR TIP: Beware the Floating Gun Case

Floating gun cases have become standard equipment among waterfowlers and many other hunters. They’re convenient and offer peace of mind should the boat swamp. But they have one huge drawback: They don’t breathe. If you put a damp waterfowl gun in a floating case after your hunt, it might be orange with rust by the time you get home a couple of hours later. It has happened to me. Take the time to wipe your gun down with an oiled cloth before you put it back in the case. By the way, the best method for drying the inside of a floating case is to stick it on a boot dryer.

Written by Phil Bourjaily for Field & Stream and legally licensed through the Matcha publisher network. Please direct all licensing questions to legal@getmatcha.com.

Featured image provided by Field & Stream